
the KID’S BATHROOM RENO

BEFORE
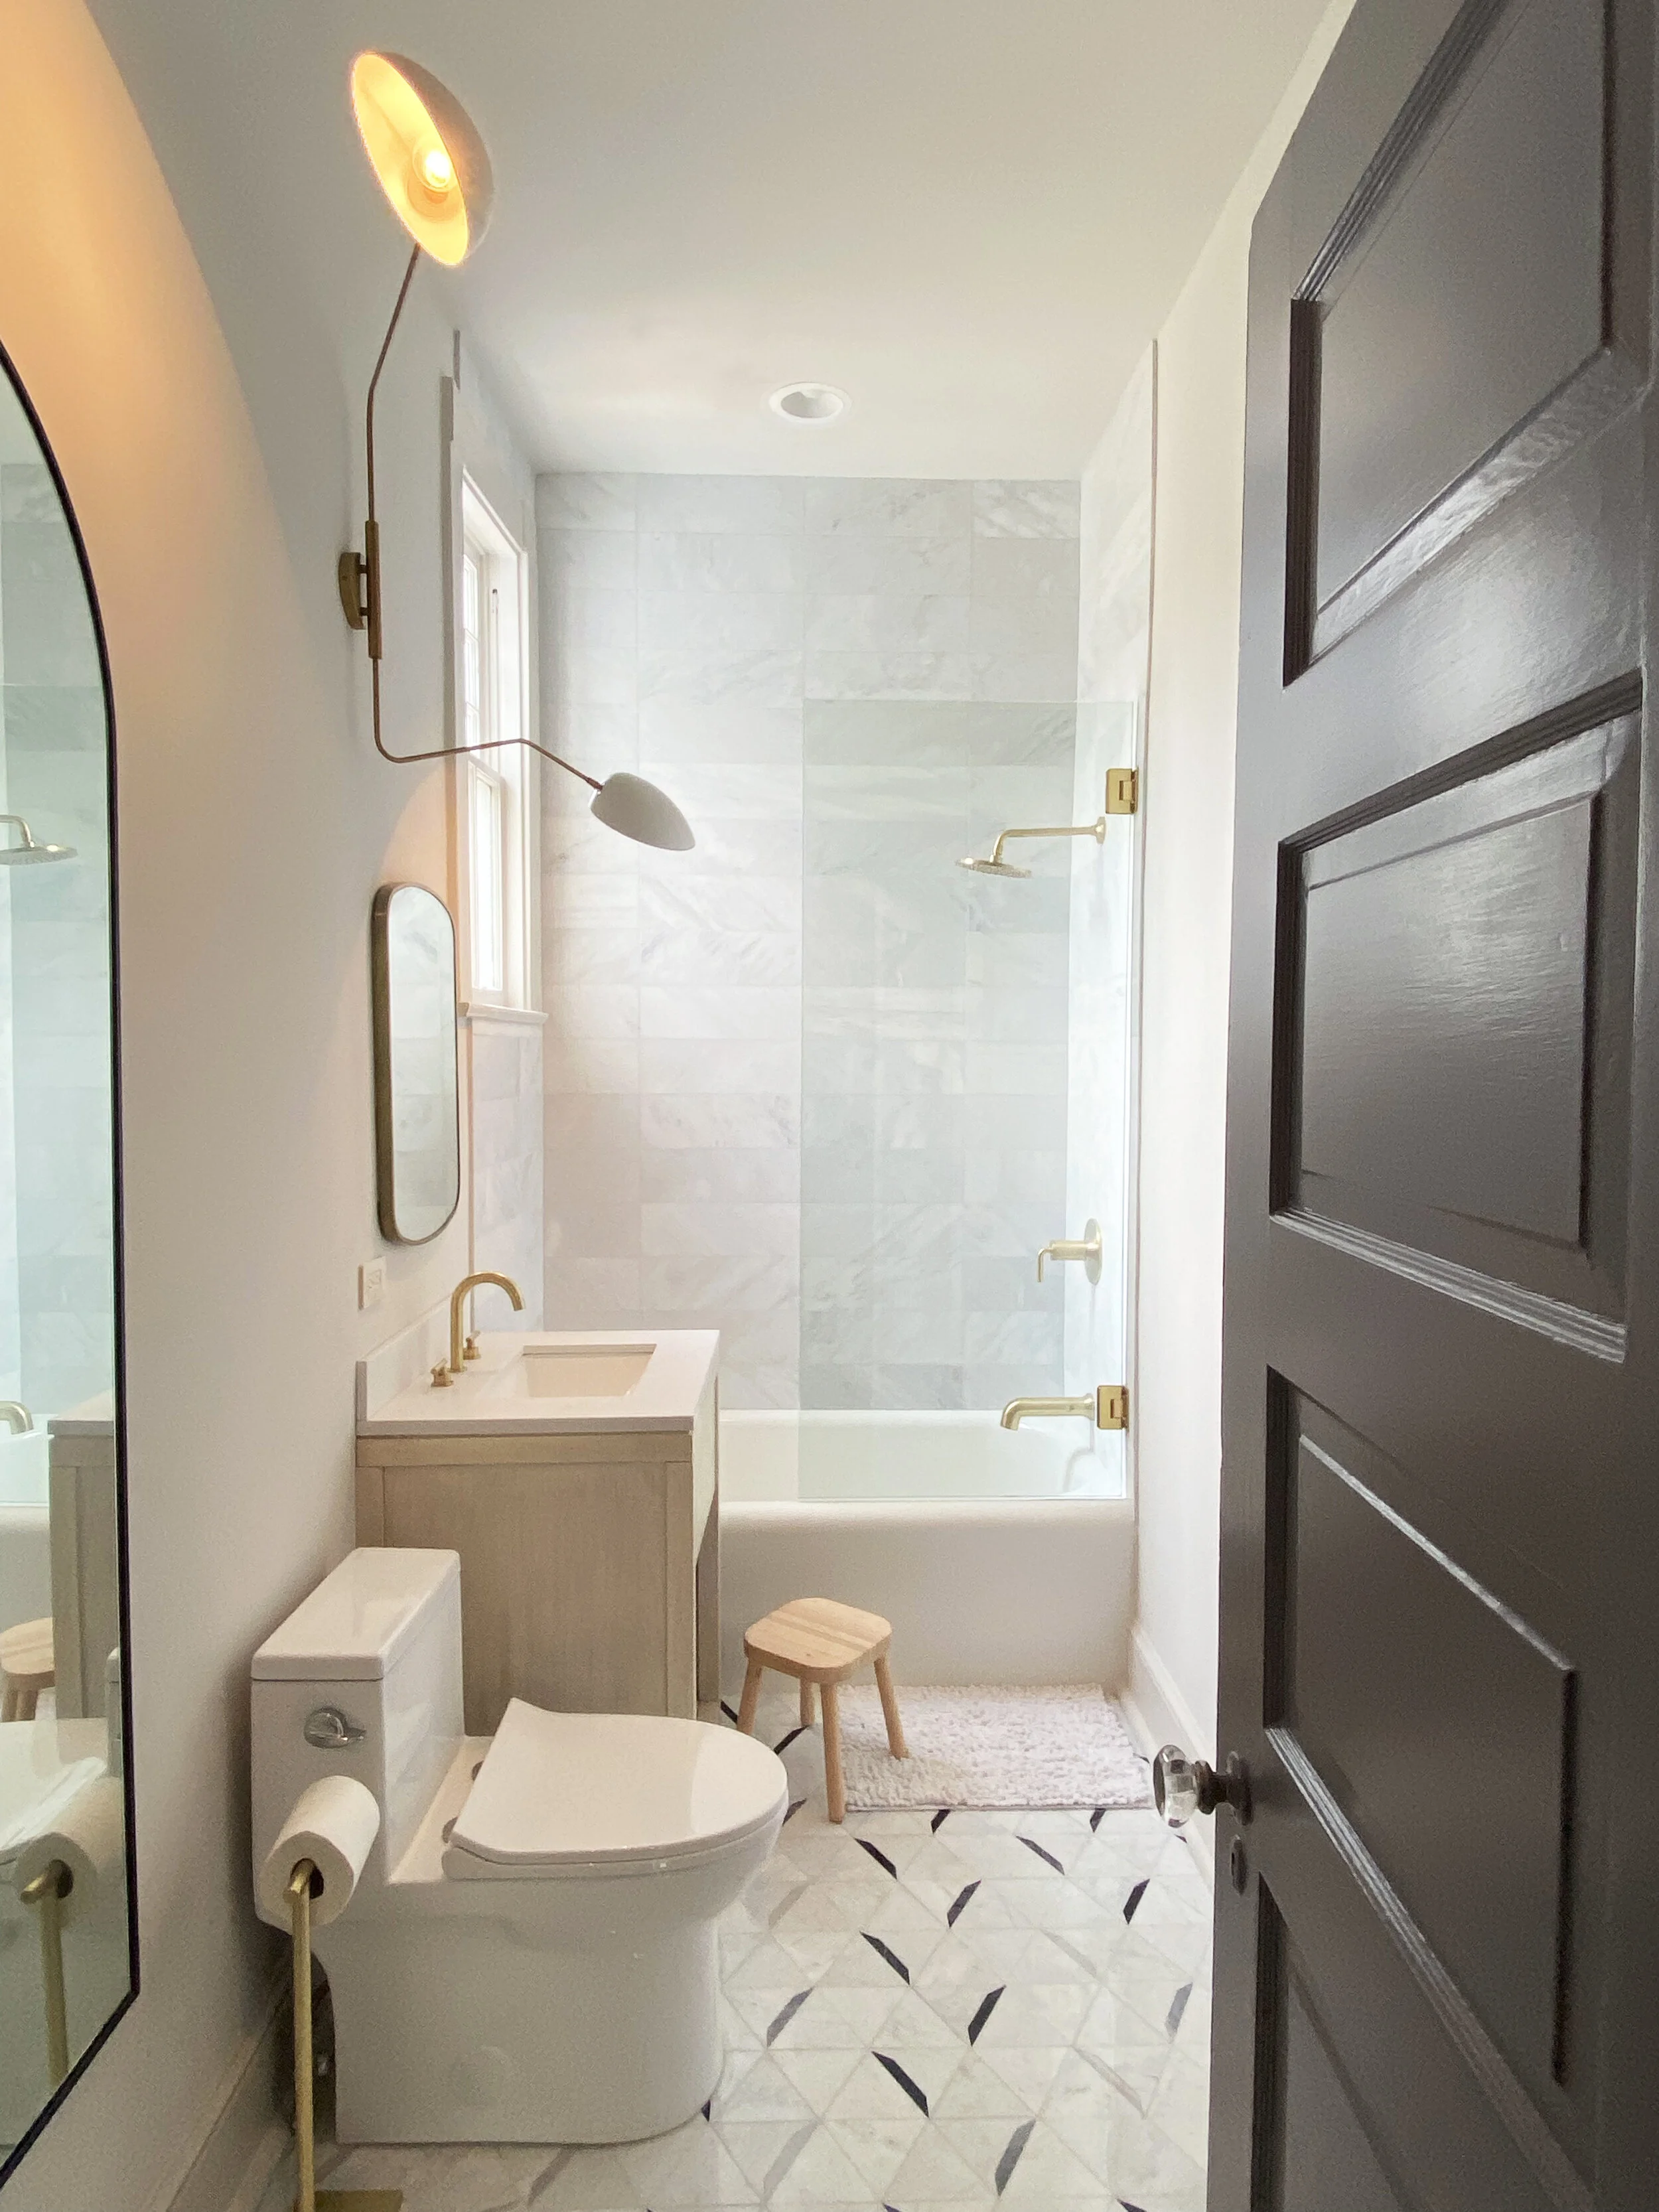
AFTER(ish)
Since our house only has two full baths, a decision was made early on to completely renovate the kids bathroom before ours. This way we would always have a fully operating bathroom. While broad strokes were being made throughout the rest of the home (electrical rewiring, wall replastering, floor refinishing, etc.), we concentrated on completely renovating this single room before moving on to others.
Typically, I don’t like to design room-by-room. I guess it’s the architect in me to want to design a house holisitically, however, change of plans. We had to move quickly for a smooth transition. So instead of a sweeping, comprehensive design, I’m now forced to design inside out — starting with the kid’s bathroom of all places. And since it’s an ensuite, I really want to be thoughtful with my decisions because it should inform the adjacent rooms and set the tone.
The goal was to keep it kid-friendly fun, but still chic.
My first step in any design project is to create a Pinterest board. Seems pretty basic but it’s become such a critical step for my process. I use Pinterest as a tool to source inspiration and build an initial framework of ideas. Not only does it develop an overall mood, it introduces me to detail ideas that I might have never thought of — the way a cabinet could open, the way a light fixture could swing out, the way two materials could meet. Not to mention, Pinterest now links products, or like-products, to most photos. It can take you down a deep dark hole, but don’t worry, that’s what this blog is for - I’ve already taken the ride down the depths of Pinterest. I’ll source it for you!
I’ve always made my boards private in the past, but obviously that’s no longer my journey. So THIS is my “kids bathroom” Pinterest board. As you see it looks nothing as I ended up with but trust that it did indeed trigger my design process. Originally, I wanted to go with soft petal and blush colors, but my oldest daughter, Harlow, shut it all the way down. I didn’t realize her contempt for the color pink before, but trust me, I do now.
So I took a second look at my board and reexamined what brought me to those pins. What was the common thread? Wood, glass, tile, and arches. So I went with that.

WOOD

GLASS

TILE

ARCHES
Now that I’ve developed my core design elements, the obvious jump off point was to start was with tile - the easiest place to add in personality. I wanted something impactful but subtle — minimal but extra (am I abusing this yet?) — something that would grow with them and age nicely. I went straight to Tile Bar to peruse, because they have a vast variety of material selection at great prices. I “favorited” all the ones that attracted me and then edited from there. The tile that I ultimately selected, I kept going back to, so I knew it was the one. It was just the right amount of everything.
From there, I layered in all other finish materials with the floor tile in mind. I chose a simple, neutral marble for the shower surround and ran it all the way up to the ceiling. (Pro Tip: I chose a 6x18” module tile size. An unusual size will feel more elevated as opposed to a standard size.) And then carefully selected black and gold trim throughout. The trick is to not be too matchy-matchy but to have it match. You know what I’m saying? *wink. Hopefully as we move forward that will make more sense.
I’ll follow up with a later post on all the other design elements and a more in-depth product breakdown — but for now I have to get back to work, because I’m still not done!
The bathroom is not finished and the details are not in their final place, but I am so thrilled with the process so far that I wanted to share. Happy to finally have a second working bathroom for the girls!

Tips when renovating a bathroom:
It’s most cost-effective to design within the existing footprint. So in other words, keep plumbing and electrical in their original locations. Especially for a kids bathroom, I didn’t want to blow the budget in this one space. So I kept everything in its place.
Salvage what you can - particularly in a historic home. I kept the tub in this situation. It’s an antique, cast iron tub that’s original to the house. (It also weighs a ton and didn’t want to deal with the demo of it.) So I had it refinished for $250!
Map out the critical path to completion. Talk with your contractor on timelines and map out progress points so you can have reasonable expectations and build in contingencies. This project took a total of 8 weeks.
Demo > Electrical/Plumbing > Insulation > Sheetrock > Waterproofing > Tile > Paint > Trim out.
Take the shower tile all the way to the ceiling when possible. It draws the eye up, allowing for a taller appearance to the room. It’s not much more of a cost to create a huge impact.


This is a screenshot of the correspondence between me and the contractor. This is typical back and forth coordination that it takes to get all the details correct - or close to it!